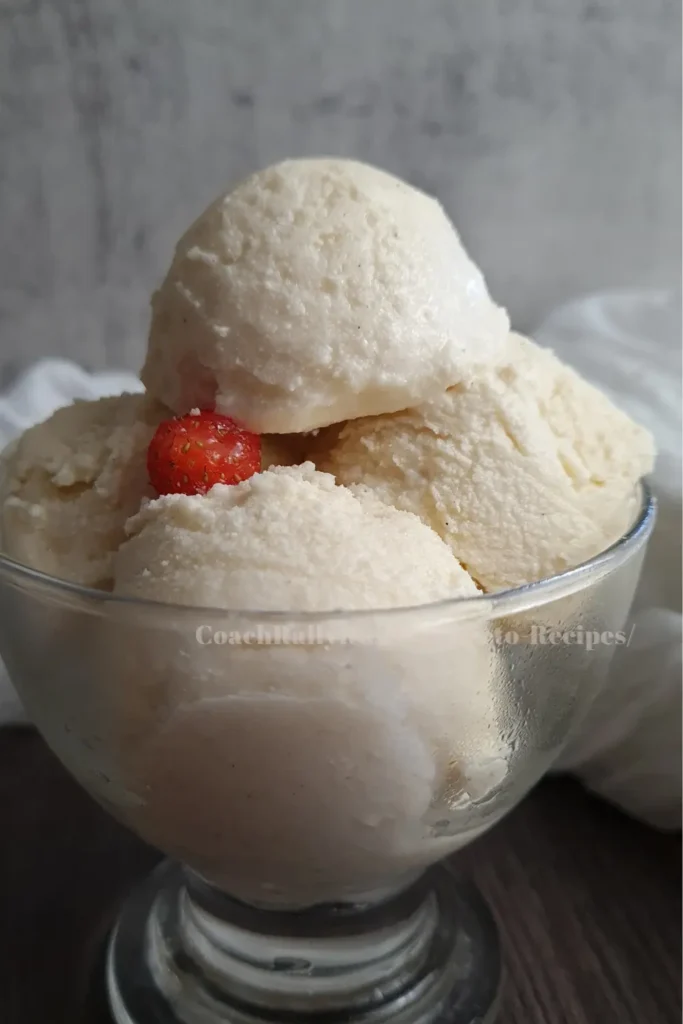
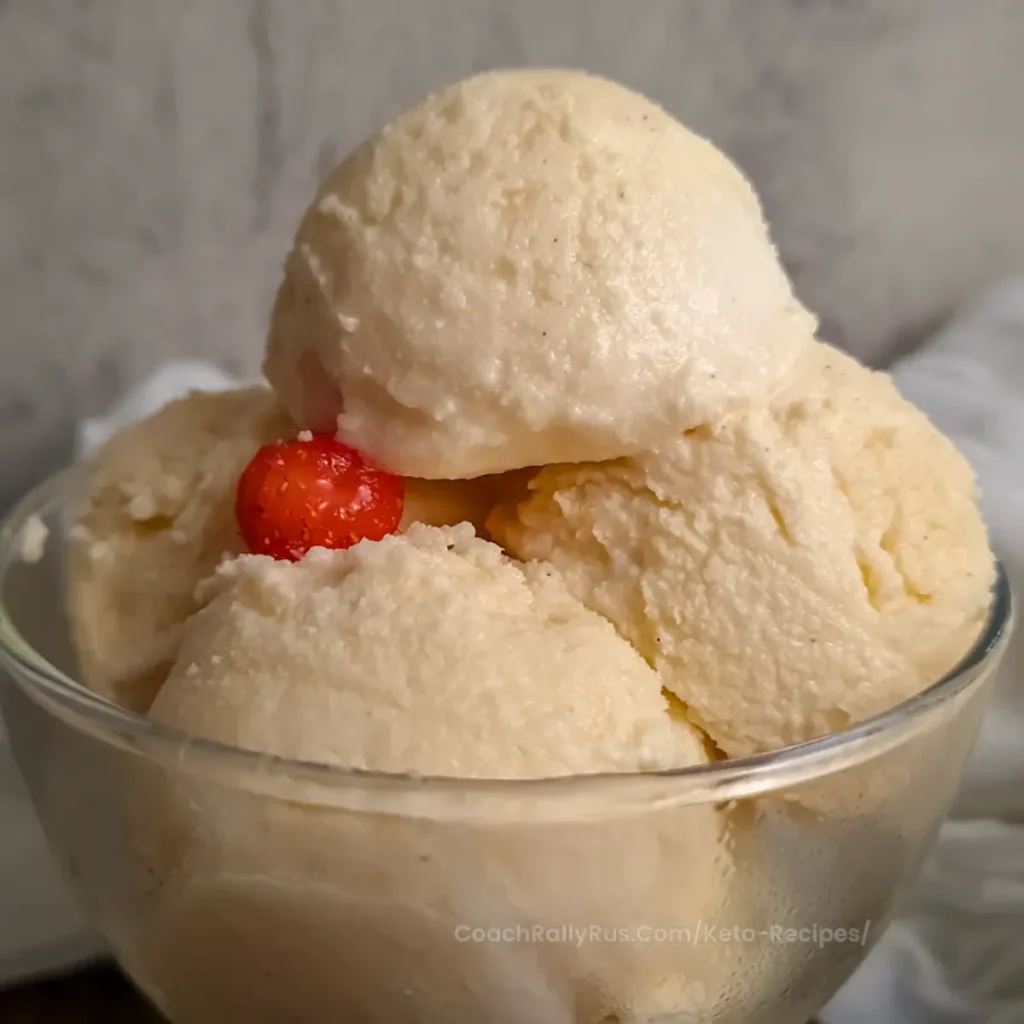
This Simple 4-ingredient Ninja Creami Keto Vanilla Ice Cream Recipe is a delicious, creamy ice cream that fits perfectly the keto diet. The best keto ice cream recipe that is rich with creamy consistency and perfect for satisfying those vanilla cravings without the guilt. Plus, it’s diabetic-friendly, sugar-free, egg-free, and requires minimal effort to make. This delicious ice cream is super easy to make with no cooking required. Perfect for satisfying your sweet tooth without the guilt.
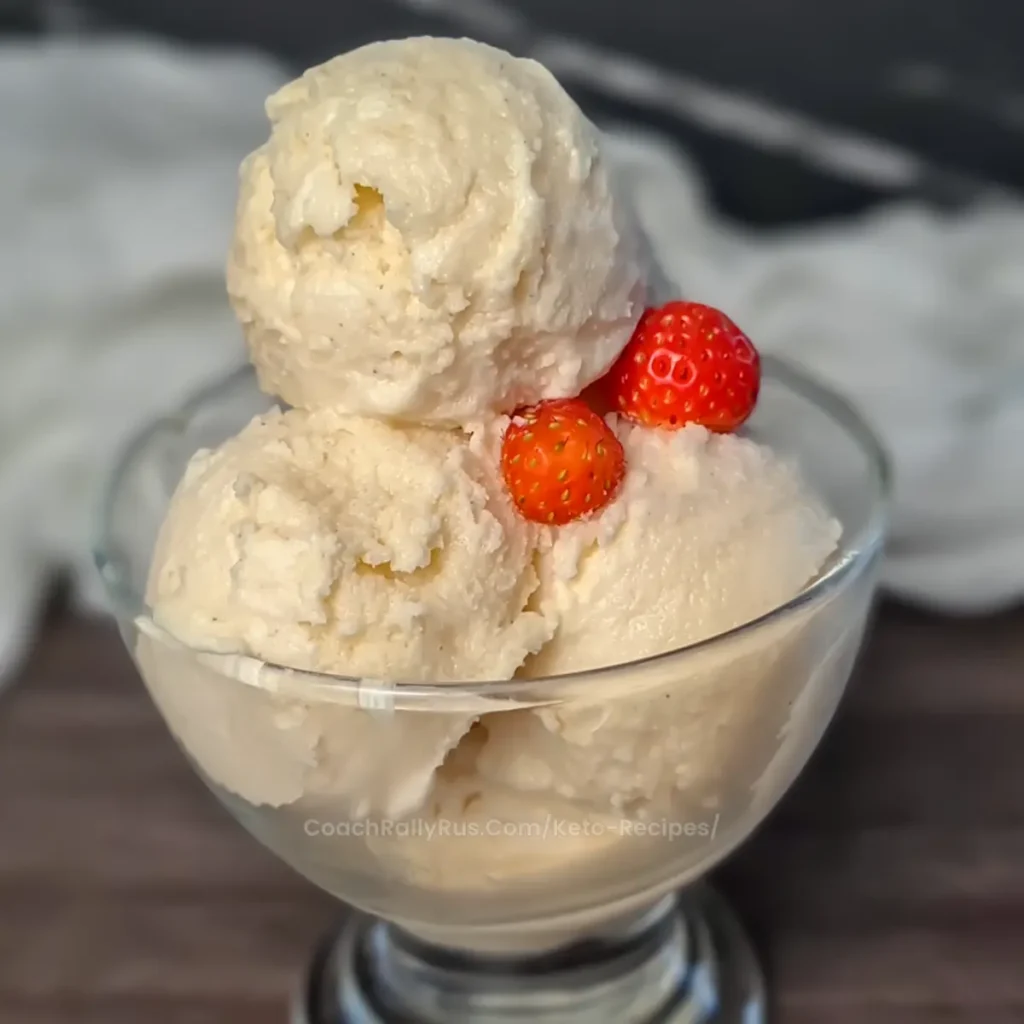
Why You’ll Love This Ninja Creami Vanilla Ice Cream Recipe
There are so many reasons to love this blueberry cottage cheese ice cream recipe. Here are some of them:
- It’s super easy to make. You only need a blender, a freezer and ninja creami ice cream maker. No ice cream maker, no churning, no fuss.
- It’s low in sugar. The only sugar in this ice cream comes from the natural sweetness of the blueberries. No added sugar, no artificial sweeteners, no syrups.
- It’s keto-friendly. This ice cream has only 1.8 g net carbs per serving, which makes it suitable for a low-carb or keto diet.
- It’s customizable. You can easily change the flavor of this ice cream by using different fruits, nuts, chocolate, or peanut butter. You can also adjust the sweetness and creaminess to your taste preferences.
Watch me make this recipe in my quick video – it’s like cooking together in the kitchen!
Watch the YouTube Video Here: Keto Vanilla Ice Cream Ninja Creami Recipe
Ingredients
- unsweetened almond milk (room temperature)
- heavy cream (room temperature)
- Allulose or Swerve
- sugar-free vanilla extract
Instructions
- Mix all ingredients for the ice cream base in a blender, until smooth.
- Pour the ice cream mixture into the ninja creami pint container.
- Freeze for 24 hours.
- The next day, take the ice cream out of the freezer and leave it for a couple of minutes out on your counter.
- Next, spin your frozen pint of the base mixture on the Light Ice Cream option (lite ice cream button).
- Re-spin (re-spin button) if the first time didn’t make the ice cream creamy.
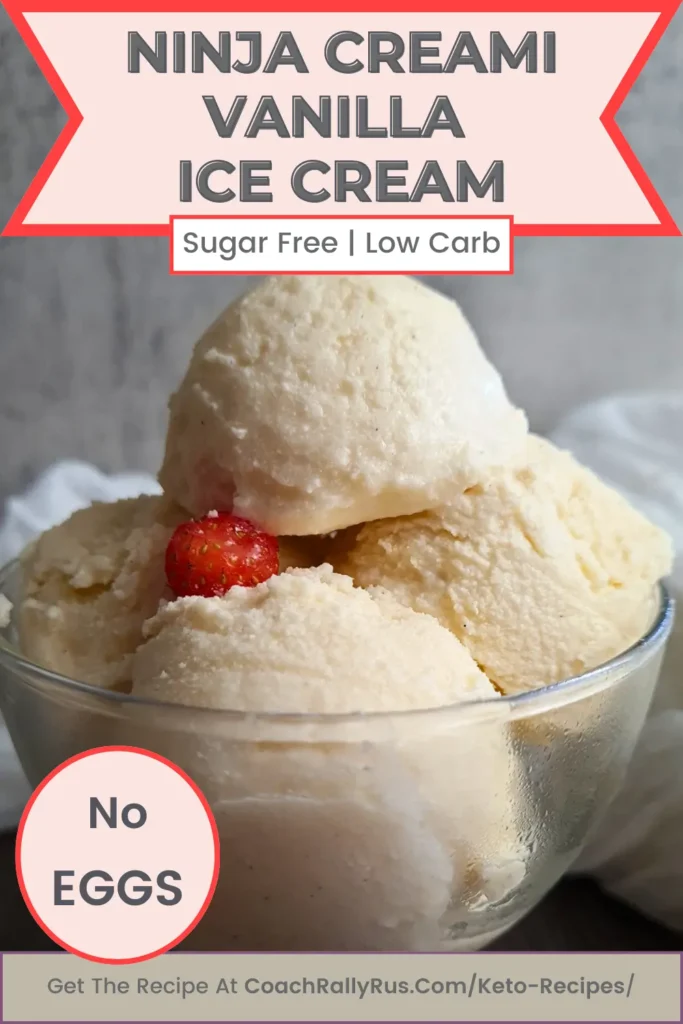
If you do not have Ninja Creami Ice Cream Maker yet, buy HERE!
OR
If you want to make a no-churn ice cream, mix all ingredients (add 1/4 teaspoon of guar gum to achieve a creamy texture) and pour into a freezer-safe container. Freeze for 2-3 hours. Let the sugar-free ice cream stand on your counter for 10-15 minutes before consumption.
Tips for Best Results
- Do not overmix the cream in the blender as it can split. This will make the ice cream texture grainy.
- Do not overfill the Ninja Creami container. Leave a little bit of a gap.
- If after the first spin the ice cream is powdery, use the re-spin program. Do not use the Light Ice Cream program again. Keep re-spinning (2-3 times) until you are happy with the consistency.
- If after a couple of re-spins the ice cream is still powdery, add a tablespoon of almond milk. Do not be tempted to add any other liquid as it can cause the ice cream to become grainy.
- I tried different amounts of milk and cream, and this (1:1) ratio seems to be the perfect texture. You can experiment yourself.
This Simple Ninja Creami Keto Chocolate Ice Cream is a game-changer for anyone on a low-carb or keto diet. It’s easy to make, delicious, and perfect for satisfying your chocolate cravings. Give it a try and let me know how you like it!
Enjoy your creamy simple chocolate low-carb ice cream and happy keto cooking!
FAQ
Q: Why is my Ninja Creami ice cream powdery?
A: If after the first spin, the ice cream is powdery, use the re-spin program. Do not use the Light Ice Cream program again. Keep re-spinning until you are happy with the consistency.
Q: Can I use a different sweetener?
A: Yes, you can use your favorite keto-friendly sweetener. Just make sure it’s a 1:1 sugar substitute.
Q: What if I don’t have a Ninja Creami machine?
A: You can use any ice cream maker, but the texture might be slightly different.
Q: Can I add other mix-ins?
A: Absolutely! Try adding berries (strawberries, raspberries), nuts, coconut flakes, or even a swirl of peanut butter.
Q: Is this recipe suitable for diabetics?
A: Yes, this sugar-free ice cream is a great option for diabetics.
Q: Can I make a vegan version of this ice cream?
A: Yes, you can substitute the heavy cream and almond milk with unsweetened coconut milk or unsweetened coconut cream for a vegan option. The texture will still be creamy and delicious.
Q: How long does it take to make this ice cream?
A: The preparation is quick, but you need to freeze the mixture for 24 hours before using the Ninja Creami machine.
Q: Can I store the ice cream for later?
A: Yes, you can store the ice cream in the Ninja Creami container with the storage lid on. Just make sure to place it on a flat surface in your freezer.
Q: What if my ice cream is too hard after freezing?
A: If the ice cream is too hard, you can use the re-spin function on the Ninja Creami machine to achieve a creamier texture.
Q: Can I add flavors?
A: Absolutely! You can add sugar-free chocolate chips, vanilla bean paste, or even a little bit of cream cheese for a cheesecake flavor.
Do you want more low carb ice cream recipes? Check out my Best Easy Ice Cream Recipes Selection

Other Ninja Creami Keto Ice Cream Recipes
- Ninja Creami Keto Chocolate Ice Cream
- Ninja Creami Keto Chocolate Peanut Butter Ice Cream
- Ninja Creami Nutella Cottage Cheese Ice Cream
- Ninja Creami Pistachio Cottage Cheese Ice Cream
More Sugar Free, Low Carb Ice Cream Recipes
- Keto Strawberry Shortcake Mug Cake
- Best Keto Ice Cream Recipes Selection: High Protein Low Carb
- High Protein Blueberry Cottage Cheese Ice Cream
- High Protein Ice Cream: Raspberry Cottage Cheese
- Keto Strawberry Frozen Creme Fraiche Recipe – Low Carb Ice Cream
- Keto Strawberry Cheesecake Ice Cream
Ninja Creami Keto Vanilla Ice Cream
Equipment
- 1 Ninja Creami Ice Cream Maker Ninja Creami
Ingredients
- 3/4 cup almond milk unsweetened
- 3/4 cup heavy cream unsweetened
- 1/4 cup Allulose or Swerve
- 1 tablespoon Vanilla extract – sugar free sugar free
Instructions
- Mix all ingredients for the ice cream base in a blender until smooth.3/4 cup almond milk, 3/4 cup heavy cream, 1/4 cup Allulose, 1 tablespoon Vanilla extract – sugar free
- Pour the mixture into the ninja creami pint container.
- Freeze for 24 hours.
- The next day, take the ice cream out of the freezer and leave it for couple of minutes out on your counter.
- Next, spin your homemade ice cream on the Light Ice Cream option (lite ice cream button).
- Re-spin (re-spin button) if the first time didn't make the ice cream creamy.
Video Recipe
Notes
- Do not overmix the cream in the blender as it can split. This will make the ice cream texture grainy.
- Do not overfill the Ninja Creami container. Leave a little bit of a gap.
- If after the first spin the ice cream is powdery, use the re-spin program. Do not use the Light Ice Cream program again. Keep re-spinning (2-3 times) until you are happy with the consistency.
- If after a couple of re-spins the ice cream is still powdery, add a tablespoon of almond milk. Do not be tempted to add any other liquid as it can cause the ice cream to become grainy.
- I tried different amounts of milk and cream, and this (1:1) ratio seems to be the perfect texture. You can experiment yourself.





Can you maybe tell me why the ice cream came out with a weird fat-like film? Like it’s on the sides of the pint, on the roof of my mouth, on the spoons, etc.
Hi Heather,
I’m really sorry to hear that your ice cream turned out this way. It sounds like the mixture might have split, which can happen if it’s overmixed (re-spun too many times – it’s an easy mistake to make).
To avoid this in the future, try letting the ice cream warm up a bit before spinning it in the Ninja Creami. This should help prevent that unpleasant film from forming.
I hope this helps, and thank you for trying out the recipe!
Thank you for sharing this recipe